If you are looking to allow your site's visitors to have easy access to you, one recommended way is to add a contact form to your site.
The Contact Stripe contains 2 fields: the contact text (Title, Subtitle and Body) and a submit button (a label item).
To add a Contact Stripe:
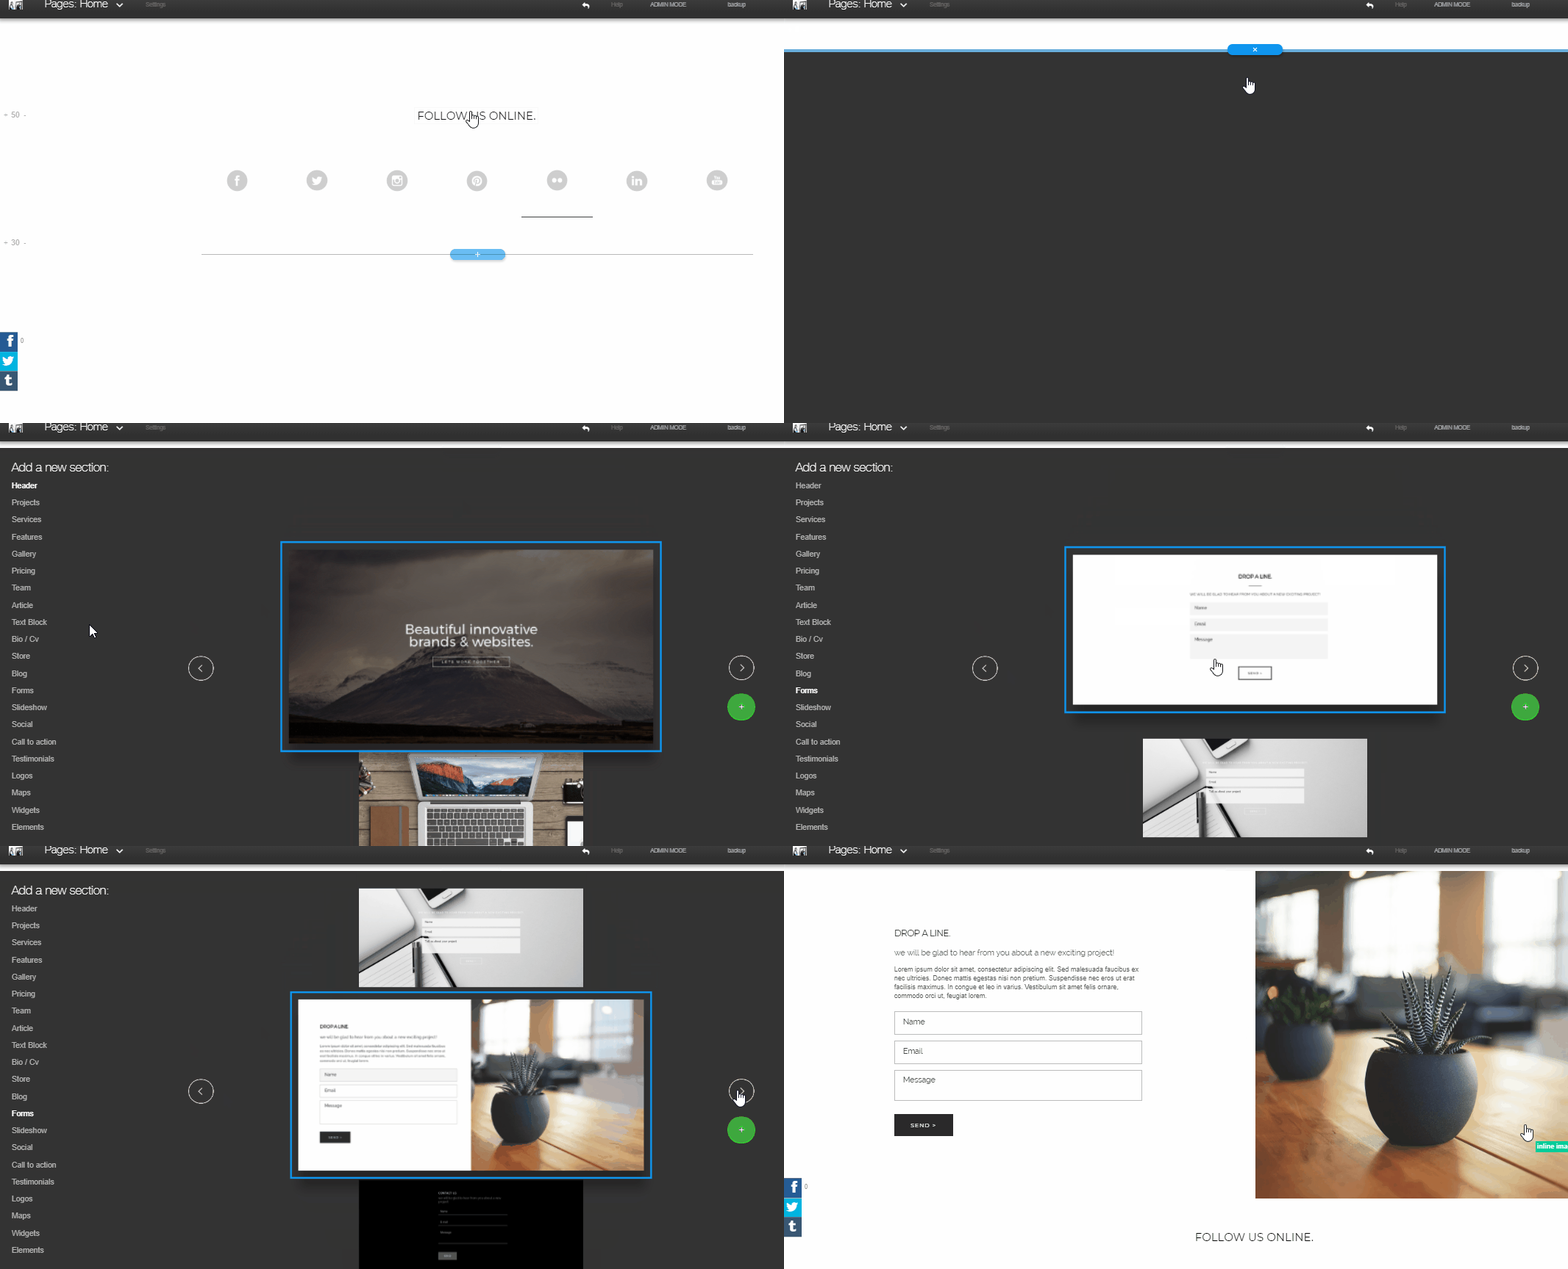
1. Click on the "+" sign and choose "Forms" and choose your favorite layout.

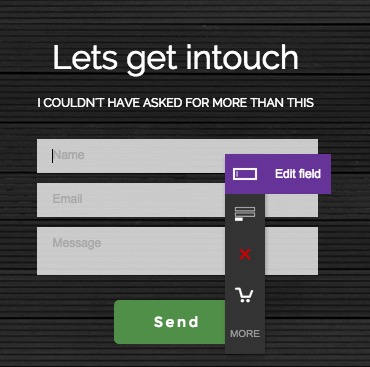
2. To edit the default fields of the contact form itself, left click a field and choose Edit field.

A box will open. Here you can change all of the field properties.
The field properties are important to set in order to create the correct data validation for each field. Choose:
Email for email validation
Date to add a date field
Checkbox to add a checkbox to the field
Phone for phone number validation
Text for non-validation field
Mandatory to create a must-fill field
Message for expanded non-validation field
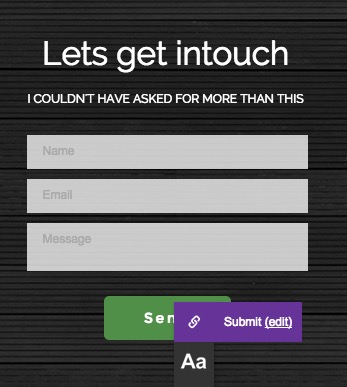
3. To insert your email to be the email the contact forms will arrive to, left click the submit "Send/Sbumit" button, choose edit > Submit, enter your email address and the Thank You message you wish to display.

4. To change the label of the Submit button from the default "Send", choose "Edit Label".
You can also switch the design of the stripe altogether, see more in our post Switching Designs
That's it.
Comments